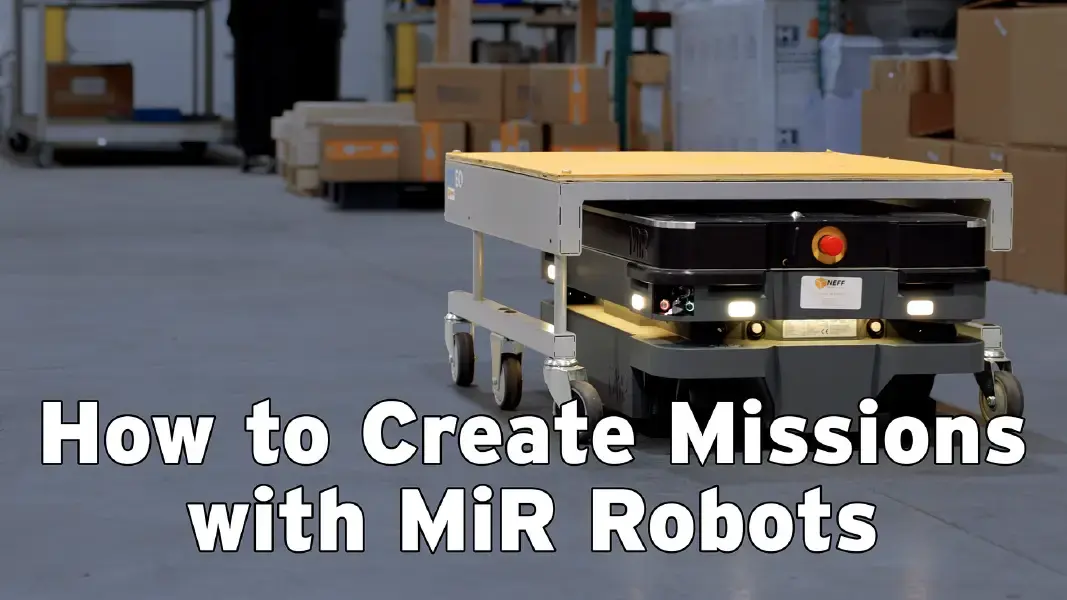
If you’re looking to automate tasks with MiR AMRs, setting up positions and missions is essential. In this guide, we'll walk you through setting up positions, creating missions, and even building a custom dashboard for your MiR robot with MiR's third software update.
Before you begin, you'll first need to create a mapping routine for your environment. This first step is critical, so be sure read the mapping blog before you continue reading below. We also have a step-by-step video guide on how to create a map for your AMR.
1. Setting Up Positions for Your MiR Robot
You’ll need to set positions for your robot to navigate. In this demo, we’re working with a cart that needs to be picked up and dropped off at specific locations. To begin, create your first position. For example, you can label it Position A, where the robot will find the cart.
When setting a position, you’ll notice the arrow indicates the entry point. If it's incorrect, simply rotate the position to ensure the robot approaches from the correct direction. Once that’s set, save the position and move on to creating another one, which we've called Position B.

2. Building Missions to Automate Tasks
Now that you have your positions set up, it’s time to create missions. Missions tell the MiR robot what actions to take at each position. In this case, we need to instruct the robot to pick up the cart at Position A and drop it off at Position B.
We selected our pre-built mission template, "Pick Up MiR 250 Shelf," for our demo. Ensure the correct footprint and cart are selected for Position A, then save and update the mission.
Next, create a second mission for dropping off the cart at Position B. This time, start with a Move command followed by a Place Shelf command. Make sure you specify Position B as the drop-off location.
For added flexibility, create two more missions: one to Pick Up at B and another to Drop at A. With these four missions, your robot can seamlessly transport the cart between positions.

3. Testing Your Missions
Once your missions are built, it’s time to test them out. Go back to your map and verify that your cart is aligned with the correct position. Then, queue the mission to Pick Up at A. Switch your MiR robot to automatic mode and hit the play button.
As the robot approaches the cart, you’ll notice it might turn slightly left or right. This is normal—the robot is using its scanners to adjust its approach, ensuring it can pick up the cart even if it’s slightly out of position. This flexibility allows the robot to handle minor variations in cart placement.
After successfully picking up the cart, queue the mission to Drop at B. You should see the robot navigate to Position B and drop off the cart smoothly. If the cart isn’t perfectly still when the robot backs away, don’t worry—the robot uses its sensors to avoid collisions.

4. Creating a Custom Dashboard
To make operations even easier, you can create a custom dashboard to control your MiR robot with just a few clicks. Navigate to the Dashboard section of the MiR software and click Create. Start by adding a map and a few mission buttons.
For this setup, we’ll add buttons for Pick Up at A, Pick Up at B, Drop at A, and Drop at B. Drag and adjust the buttons to your preferred layout. Finally, add a mission queue to monitor the robot's progress.
Once you’ve customized the dashboard to your liking, hit Save. Now you have a user-friendly interface to run your missions with just a few clicks.

5. Testing the Dashboard
With your dashboard set up, it’s time to put it to use. For this demo, the cart is sitting at Position B, so start with the Pick Up at B command. You can also direct the robot to move further up the aisle before dropping it off at Position A.
By running these commands through the dashboard, you’ll see how easily the MiR robot completes its tasks with minimal human intervention.
Setting up positions, missions, and a custom dashboard in MiR software version 3 is straightforward and efficient. With just a few steps, you can fully automate tasks like cart transportation, making your operations smoother and more reliable.
Watch the full demo here:
