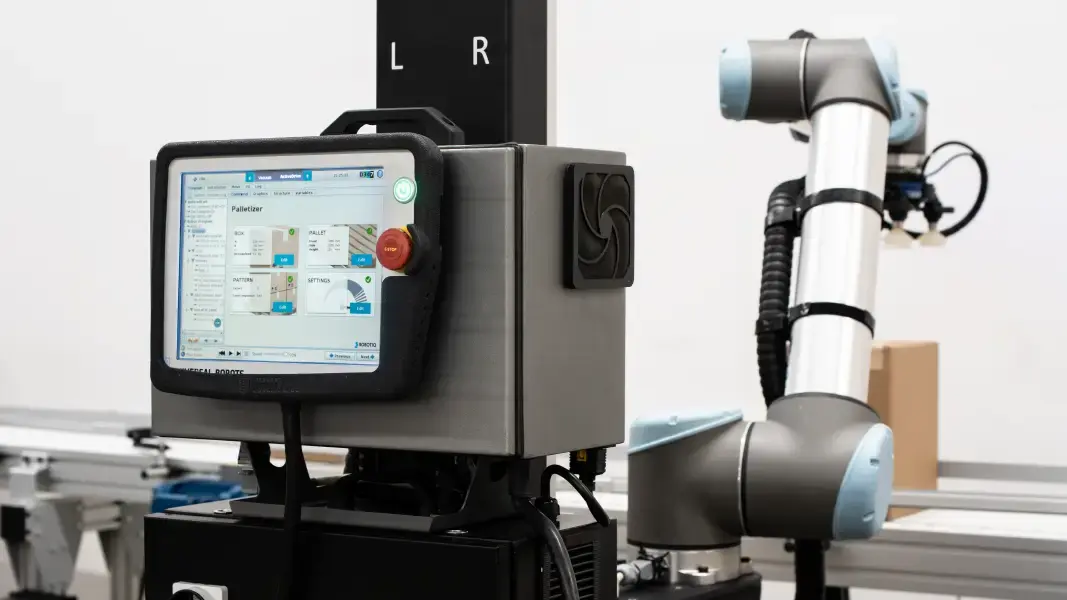
Are you ready to streamline your palletizing process? Robotiq's palletizing solution is here to revolutionize your pallet stacking workflow. In this guide, we’ll walk you through how to set up a typical palletizing routine using the Robotiq palletizing URCap.
1. Starting the Program
Begin with a clean slate—open an empty program and expand the user interface options on the left. Add a palletizing node, then hit “start.” The first thing you’ll want to configure is your unit system. Once that’s selected, move on to defining the size of the boxes you’ll be palletizing.

2. Defining Box Orientation
Now, it’s time to set up your box orientation. Pay close attention to the robot’s tool connector—this is crucial for ensuring your labels are facing the correct direction on the pallet. This orientation step is vital for efficient scanning or identification processes later on.
Once the box orientation is in place, it’s time to program the robot's grip position. Simply jog the robot to the center of the box, ensuring the precision needed for seamless palletizing. Once positioned, click “OK” to lock it in. You’ve now configured the box dimensions, weight, and grip position.

3. Configuring the Pallet and Stacking Pattern
Now, let’s move on to the pallet. Make sure to input the pallet's measurements accurately to prevent any misalignments during the stacking process. When the pallet size is set, you can then choose the stacking pattern.
To begin setting up the pattern, select “edit” on pattern one and click “add box.” You can choose between movement steps or snapping. While snapping allows for auto-alignment, movement steps offer more control, allowing you to fine-tune box placement. We recommend leaving a bit of space between each box to accommodate for any minor gripping imperfections.
Once you’ve completed the first layer, it’s time to configure pattern two. The PE20 has an auto-generator feature that quickly creates the next layer based on your first setup. You can always adjust the spacing between boxes if needed. After setting two patterns, alternate them to create a solid stack with optimal stability.

4. Programming the Gripper
Now that your patterns are set, it’s time to tell the PE20 how to grip and release the boxes. In the palletizing node, go to the grip command section and add a set command for your gripper. After gripping, program a release command for when the robot places the box onto the pallet. This ensures a seamless handoff, reducing downtime.
5. Running the Program
With everything in place, switch the program to “automatic” mode and hit play. The system will ask for the current state of the pallet. If you’re starting fresh, confirm that no boxes are on the pallet. However, if there’s an issue, you can adjust the program’s state to reflect where it stopped or encountered an error.
And there you have it! Your PE20 Palletizer is now fully configured and ready to automate your palletizing workflow. By following these simple steps, you’ll enhance productivity, reduce errors, and maximize your warehouse efficiency.
Watch the full tutorial video below:
